
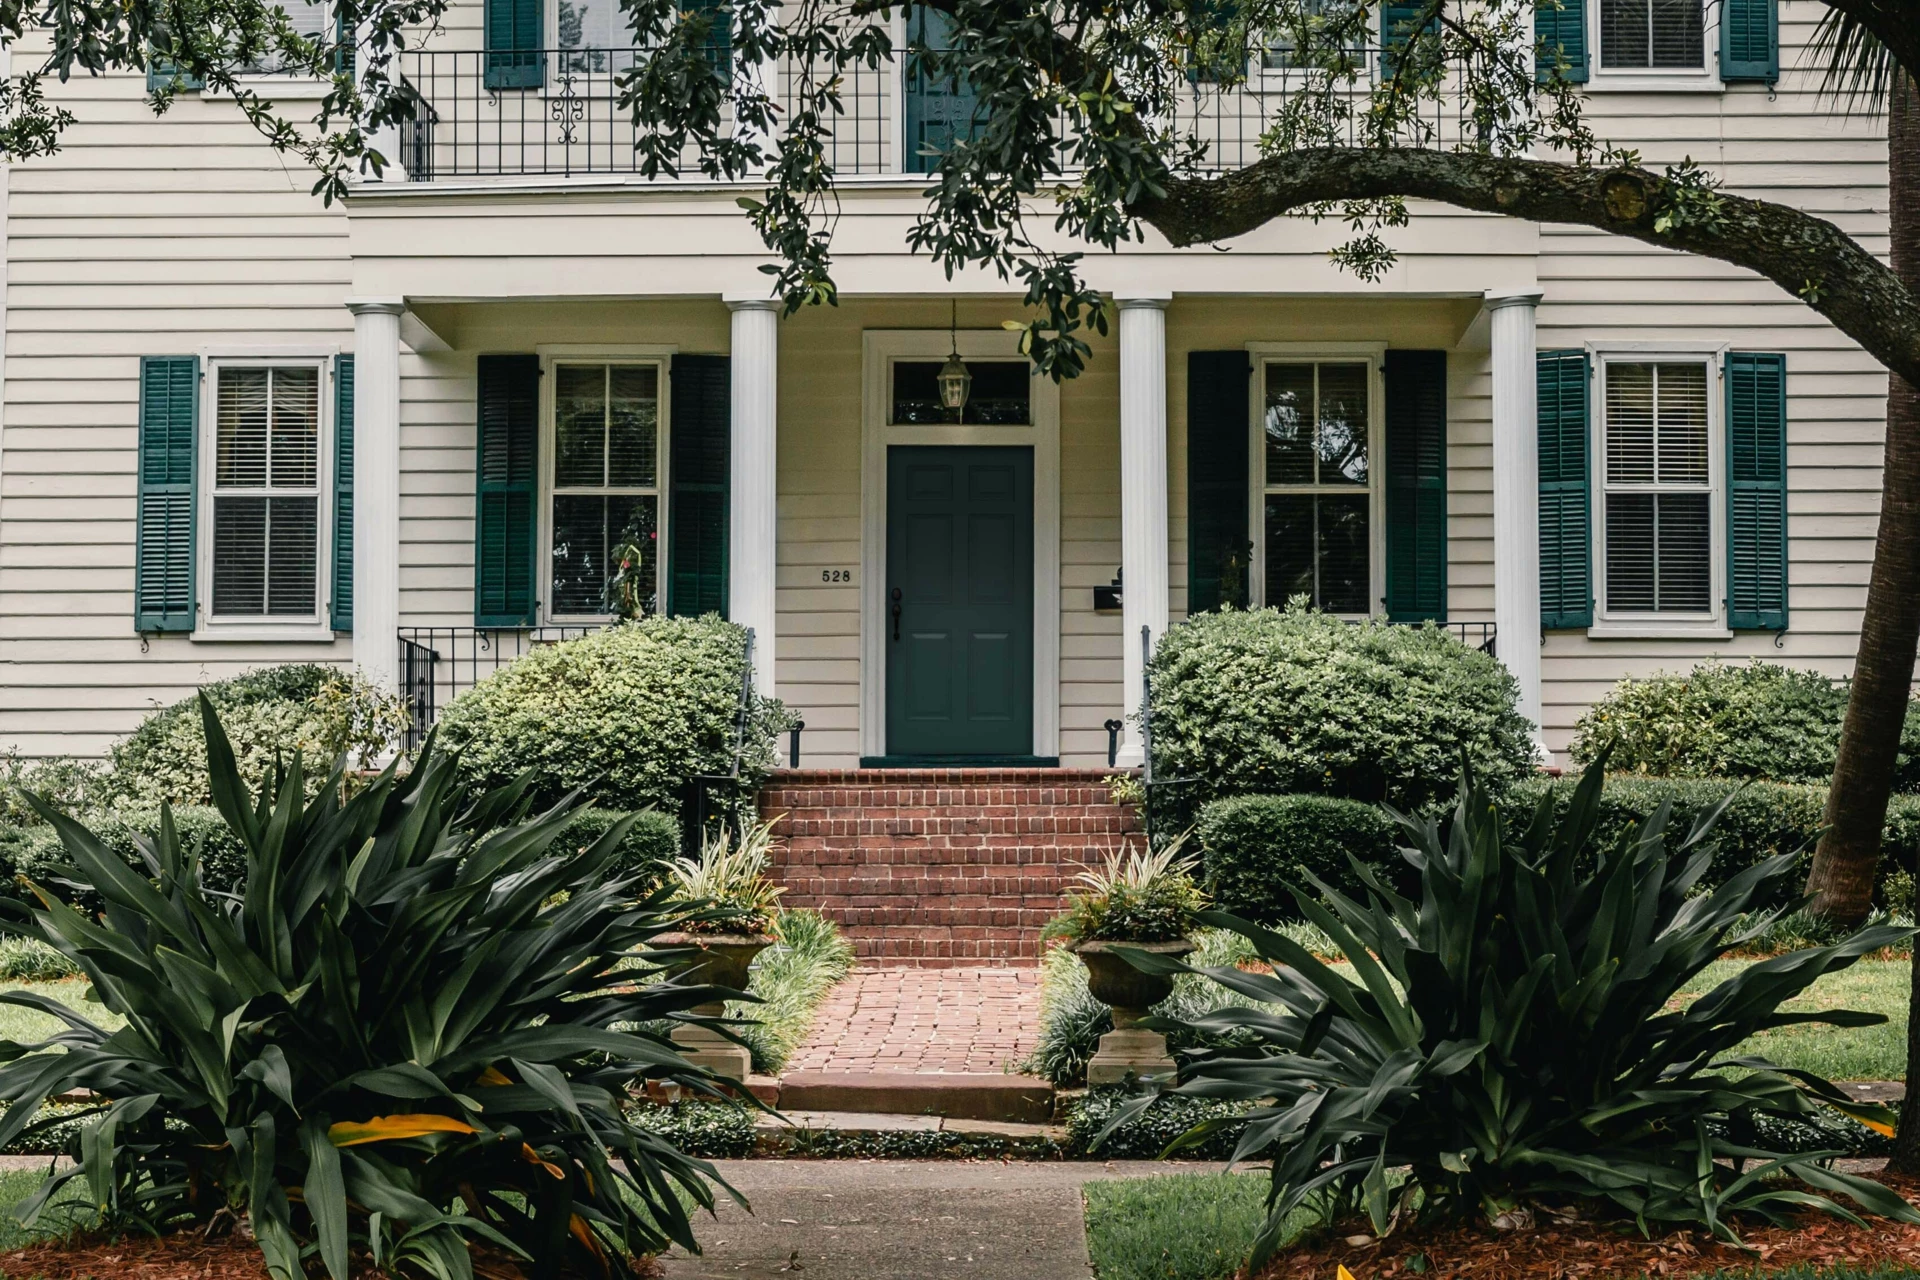
No matter how old a home is, what sort of architectural style it embodies or where in the world that home happens to be, odds are good that a wooden surface can be found somewhere inside that space. Whether it’s the living room, bathroom, kitchen or a front entry door, wood is a useful material that can be utilized in any of those spaces for a variety of purposes. However, that usefulness comes at a cost that makes itself known over time.
Maybe all that use led to wear on the wood around your home, or maybe seeing that same wood every single day began to wear on you. Whatever the case, applying wood staining can help solve both problems by giving your wooden surfaces a fresh, new look that can help extend its lifespan with added protection against hazards.
What Is Wood Stain?
The products available for purchase labeled as wood stain are substances proven to both change the color of and supply an extra protective layer to the wood in your home. When planning a wood stain project, keep in mind that there are different types of wood stains. These products are going to come in the form of either a gel or a liquid and will include two main elements.
The first is a solvent—either alcohol, polyurethane, oil or water—that holds an ingredient or set of ingredients meant to color the wood and delivers that coloring into the wood when it’s applied. The second is the ingredients that do the coloring, which are either suspended, dissolved or mixed into the aforementioned solvent. These two main elements decide the look and level of protection a stain will supply when applied.
Different Types of Wood Stain
In the world of wood stains, there are at least seven different types of commercially available options for homeowners to choose from. If you thought you’d be limited to three or four options when selecting your stain of choice, you’re in luck—each one offers a different sort of experience for a do-it-yourself wood stain project and each will provide a different sort of result, with its own advantages and disadvantages.
1. Oil-Based Wood Stain
If you have a picture in your head of how the staining process will play out and what your result will look like, odds are those preconceived notions are based on knowledge garnered about oil stains. They’re one of the most well-known and widely available stain types for a reason—oil stains contain a binder made from linseed oil, which dries slowly and allows ample time for even a novice to clear unnecessary stain from the surface before it’s too late.
Oil stains require paint thinner for thinning and cleaning. Sometimes referred to as petroleum distillate, aliphatic hydrocarbon or mineral spirits on packaging, paint thinner can emit strong fumes, is flammable and isn’t easy to dispose of. If you’re using an oil stain, be sure to do your work in a well-ventilated area away from open flame, preferably away from any living space.
Choosing an oil stain by coloring agent mostly comes down to personal preference, as it can be used in any situation where you don’t require the added benefits other stains carry with them. However, don’t choose an oil stain if you plan to cover it in a finish that has a water base or can’t allow the stained wood to dry overnight in a warm place.
2. Water-Based Wood Stain
Water-based stains are a lot friendlier to your senses than a stain that requires paint thinner. They’re less of an assault on your sense while you apply the stain, they’re an easier cleaning job than other stains and they contribute less pollution.
The flipside is the difficulty that applying water-based stains presents to a homeowner. These stains will raise the grain when they’re applied to wood, then dry quickly.
This leaves little time for sanding raised grains—and when you do sand them, there’s the danger of sanding through the color you just applied to the wood. You can mitigate this by sanding raised grains before staining the wood. Apply water with a cloth, let it dry in a warm room and sand.
If you’re going to use a water-based finish on wood, you’ll want to start with a water-based stain as the base layer for your project. Putting these two water-based substances together is the best-case scenario over pairing a water-based finish with something like varnish or oil stains—unless you give those stains ample time to completely dry into the wood.
3. Gel-Based Wood Stain
Are you staining pine? Then you’ll want your stain to be gel-based.
Wood stains tend to blotch when used on pine, a problem that some suggest can be remedied by utilizing washcoat or wood conditioner before applying any staining to pine. However, applying a gel-based stain allows you to skip that preparatory step and head right to the staining portion of the project.
This type of stain is good with other woods that are prone to blotching, too, but it’s rather thick and therefore can be messy to work with. Gel stains require thinner for their cleanup, too.
4. Lacquer-Based Wood Stain
If your staining product lists ketones and xylene on its packaging, it’s most likely a lacquer-based stain. These can be added to lacquer to alter colors between coats of lacquer finish and they dry quickly—usually in 15 minutes. This ability to better control color while quickly completing a job has made lacquer stains popular among professionals, but this means it can also be difficult to use. If you’re going to take advantage of its ability to work with lacquer finishing, strongly consider working with a partner.
5. Varnish Wood Stain
Varnish stains are very similar to their oil-based counterparts, right down to the need for thinner at the end of the process. However, varnishes dry hard, so they can be left alone to dry and can give a similar look and feel as a finish.
Varnish is great for covering a surface that’s damaged but is already covered in stain and finish. This versatility comes with a price, though: varnish stains give you less time to take care of excess staining, and that leftover varnish can make large brush strokes stand out.
6. Water-Soluble Dye Stain
This stands out from the rest of the list because it’s available commercially as a powder that dissolves when added to water. The amount you dissolve will determine the shade of the stain’s color, and this rather simple method of color choice makes this stain popular with less experienced woodworkers.
This stain can be changed after it’s applied to wood because it lacks a binding agent, and it can go as dark as you’d like without completely obscuring the character of the underlying wood. Keep in mind, though, that this type of stain is sensitive to ultraviolet light.
7. Metalized Dye Stain
Invented in direct response to water-soluble dye stain’s UV light sensitivity, metalized dye stains are more resistant to rays from fluorescent lights and the Sun. It dries faster than many other stains and can be applied by spraying it onto wood. It can sometimes be thinned with water, but that makes it susceptible to the grain raising problem that water can introduce to a project.
How to Apply Wood Stain to Your Home
These types of staining can be used in your living spaces to save or preserve your favorite wooden furniture and features. It can also help transform a space by introducing new colors without replacing existing wood.
Prep Wood for Staining
Use a nylon or natural bristle brush to brush away dust from the wood. Then sand the wood until it’s smooth. If the wood is rough, it’ll become darker. After sanding, wipe the wood clean again.
Apply Wood Stain
Once it’s clean, the wood is ready for its stain. This step is largely depending on the type of stain you’ve chosen for the job. You’ve already read about how different each stain is as far as the process and eventual product, so be sure to study any included instructions carefully and use recommended tools and methods.
After you’re finished applying the stain, follow drying instructions.
Other Wood Staining Tips
In addition to following manufacturer’s instructions for the different types of staining, keep in mind some best practices for applying staining to wood. Staining materials involve chemicals, so try to do work away from lived in areas and practice proper safety by wearing nitrile gloves (don’t use latex). Also wear safety glasses.
Finally, be sure to dry all used materials before storing or throwing away.
Refresh Your Home with Plastpro
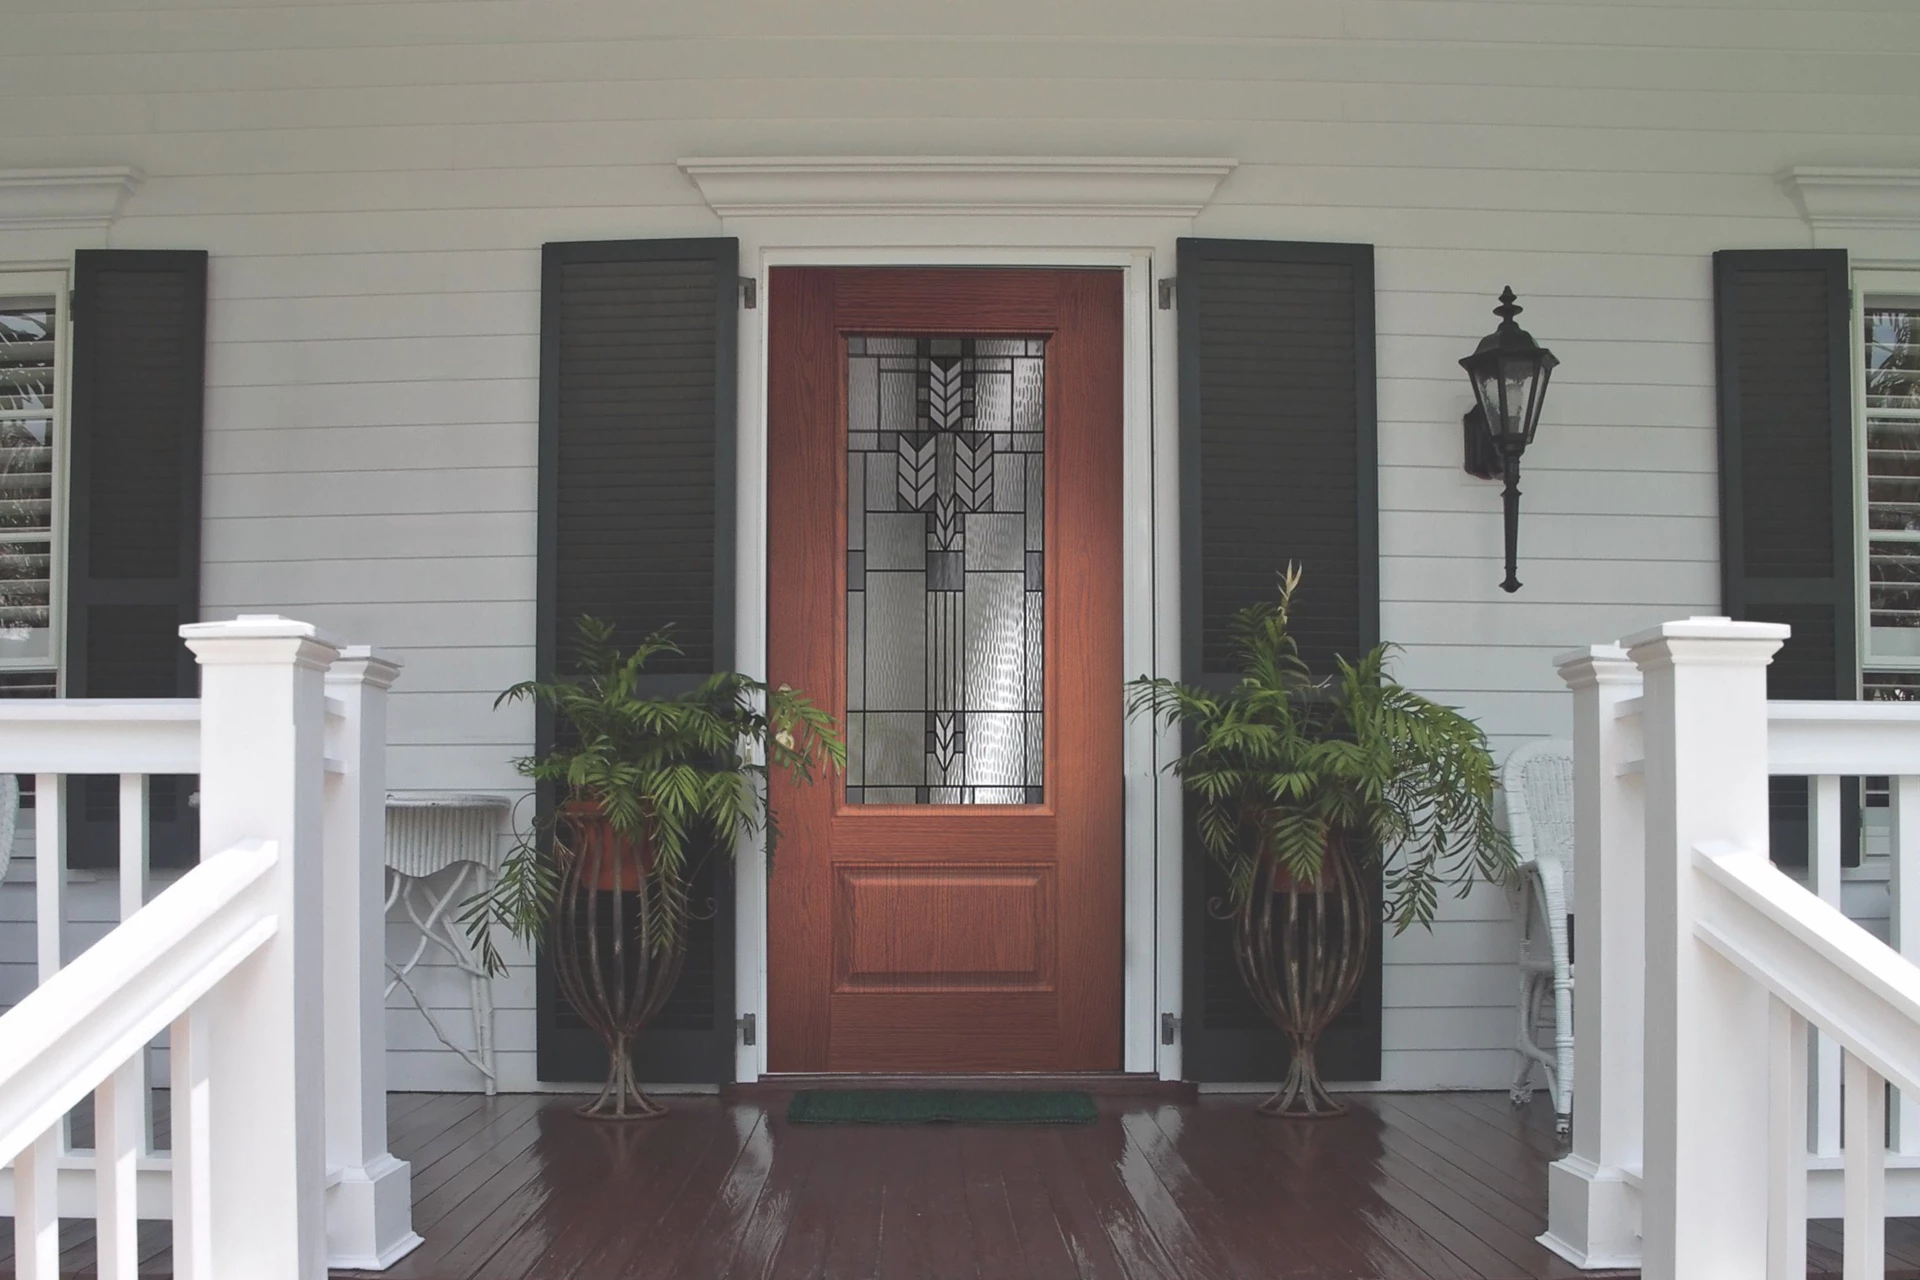
The different types of stains have their own pros and cons, and each has its own advantages and difficulties while applying them. Staining a fiberglass door is a similar experience and can replicate that real wood look.
Plastpro’s staining kits come with everything necessary to complete the job, and their staining guides provide valuable direction for achieving different results during staining jobs. Consider the different types of wood stains, then choose a fiberglass door stain color to match your desired look and transform one of your most oft-seen surfaces.
You May Also Like
 Door Installation Support
Start the Year With a Stronger Entryway
 Door Installation Support
Why Fiberglass Doors are the Eco-Friendly Choice
 Door Installation Support
Keeping Your Home Sparkling: Tips for Cleaning and Maintaining a Fresh Space
Ready for More Inspiration?
Your next big idea starts here. Subscribe to Inspiration & Insights
Note: We're always on the lookout for beautiful, innovative, and standout Plastpro projects. If you have one in mind, please email [email protected]