There are several factors to consider when you’re installing or rehabilitating an entry door. How much will you deviate from the current size, color, or material of your front door? What features are essential for you to add to your home? Will you extend that home improvement project beyond the door and further alter your front façade? During the process, it can be easy to prioritize a few features and unintentionally let others fall by the wayside. Don’t let that happen with door casings.
In this comprehensive guide, we’ll delve into the world of door casings and explore its essential role in completing your door renovation or replacement. We’ll cover various types and styles of door casings, including the diverse selection of door casings and exterior door frames offered by Plastpro. They complement any doorway, ensuring a seamless and visually appealing look for your main exterior entryway. We’ll also discuss installation techniques for door casings and provide valuable insight for both homeowners and construction professionals.
What is Door Casing?
Are you familiar with trim or moulding? Then you’re familiar with door casing! All these terms refer to the same concept—door trim is door casing, and so is door moulding.
These terms are usually used interchangeably by professionals who work on homes because a door casing is essentially the trim or moulding found around a door frame. In the context of doors and windows, this feature is called casing because it creates a sort-of case around the door or window opening. Because of its use as a framing device for some of the home’s most noticeable focal points, door and window casing are usually some of the most decorative, eye-catching features of a home. It’s also usually identical, or at least closely matching or referential to other features found in casing throughout the home.
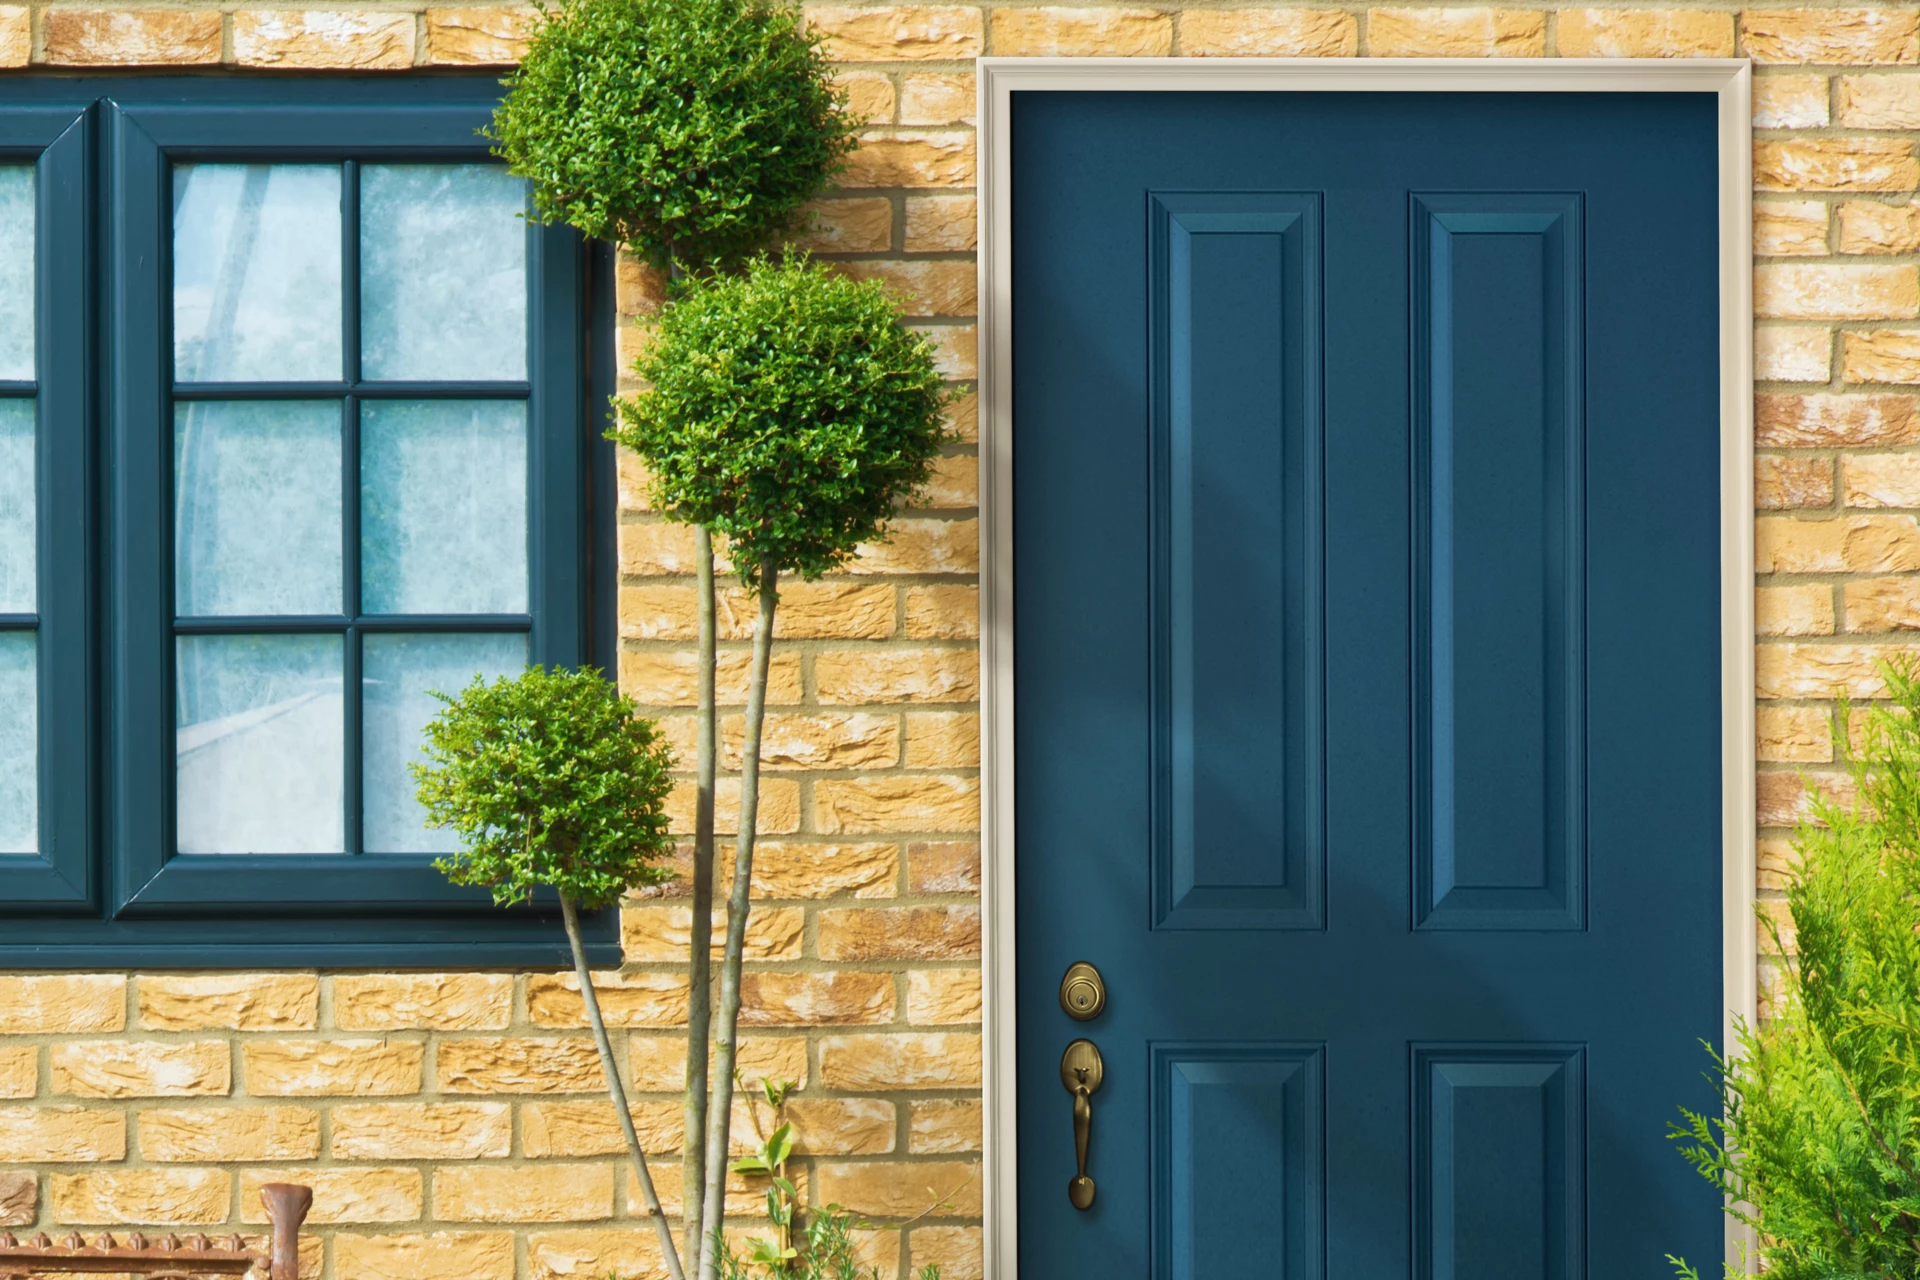
Functionally, casing on a door is used to cover up any gaps that exist between a wall and the doorframe after a frame is properly inserted, jambs are used and the frame is considered installed. For doors, most normal door casing kits consist of two long pieces that run vertically along the outside of the door, while a smaller third piece is meant to go above the door opening. This third piece is typically thin at the bottom and more pronounced at the top. This is done to create an aesthetically pleasing capstone that ties the threshold together.
For interior doors, casing a door frame helps solidify the divide between rooms and improve the indoor design of your home. For exterior doors, casing is a practical necessity. Leaving gaps ruins privacy, temperature control, and protection from harsh weather and small fauna. Gaps also sully curb appeal with an unfinished look and can compromise the security potential of your front door.
Types of Door Casings and Exterior Door Components
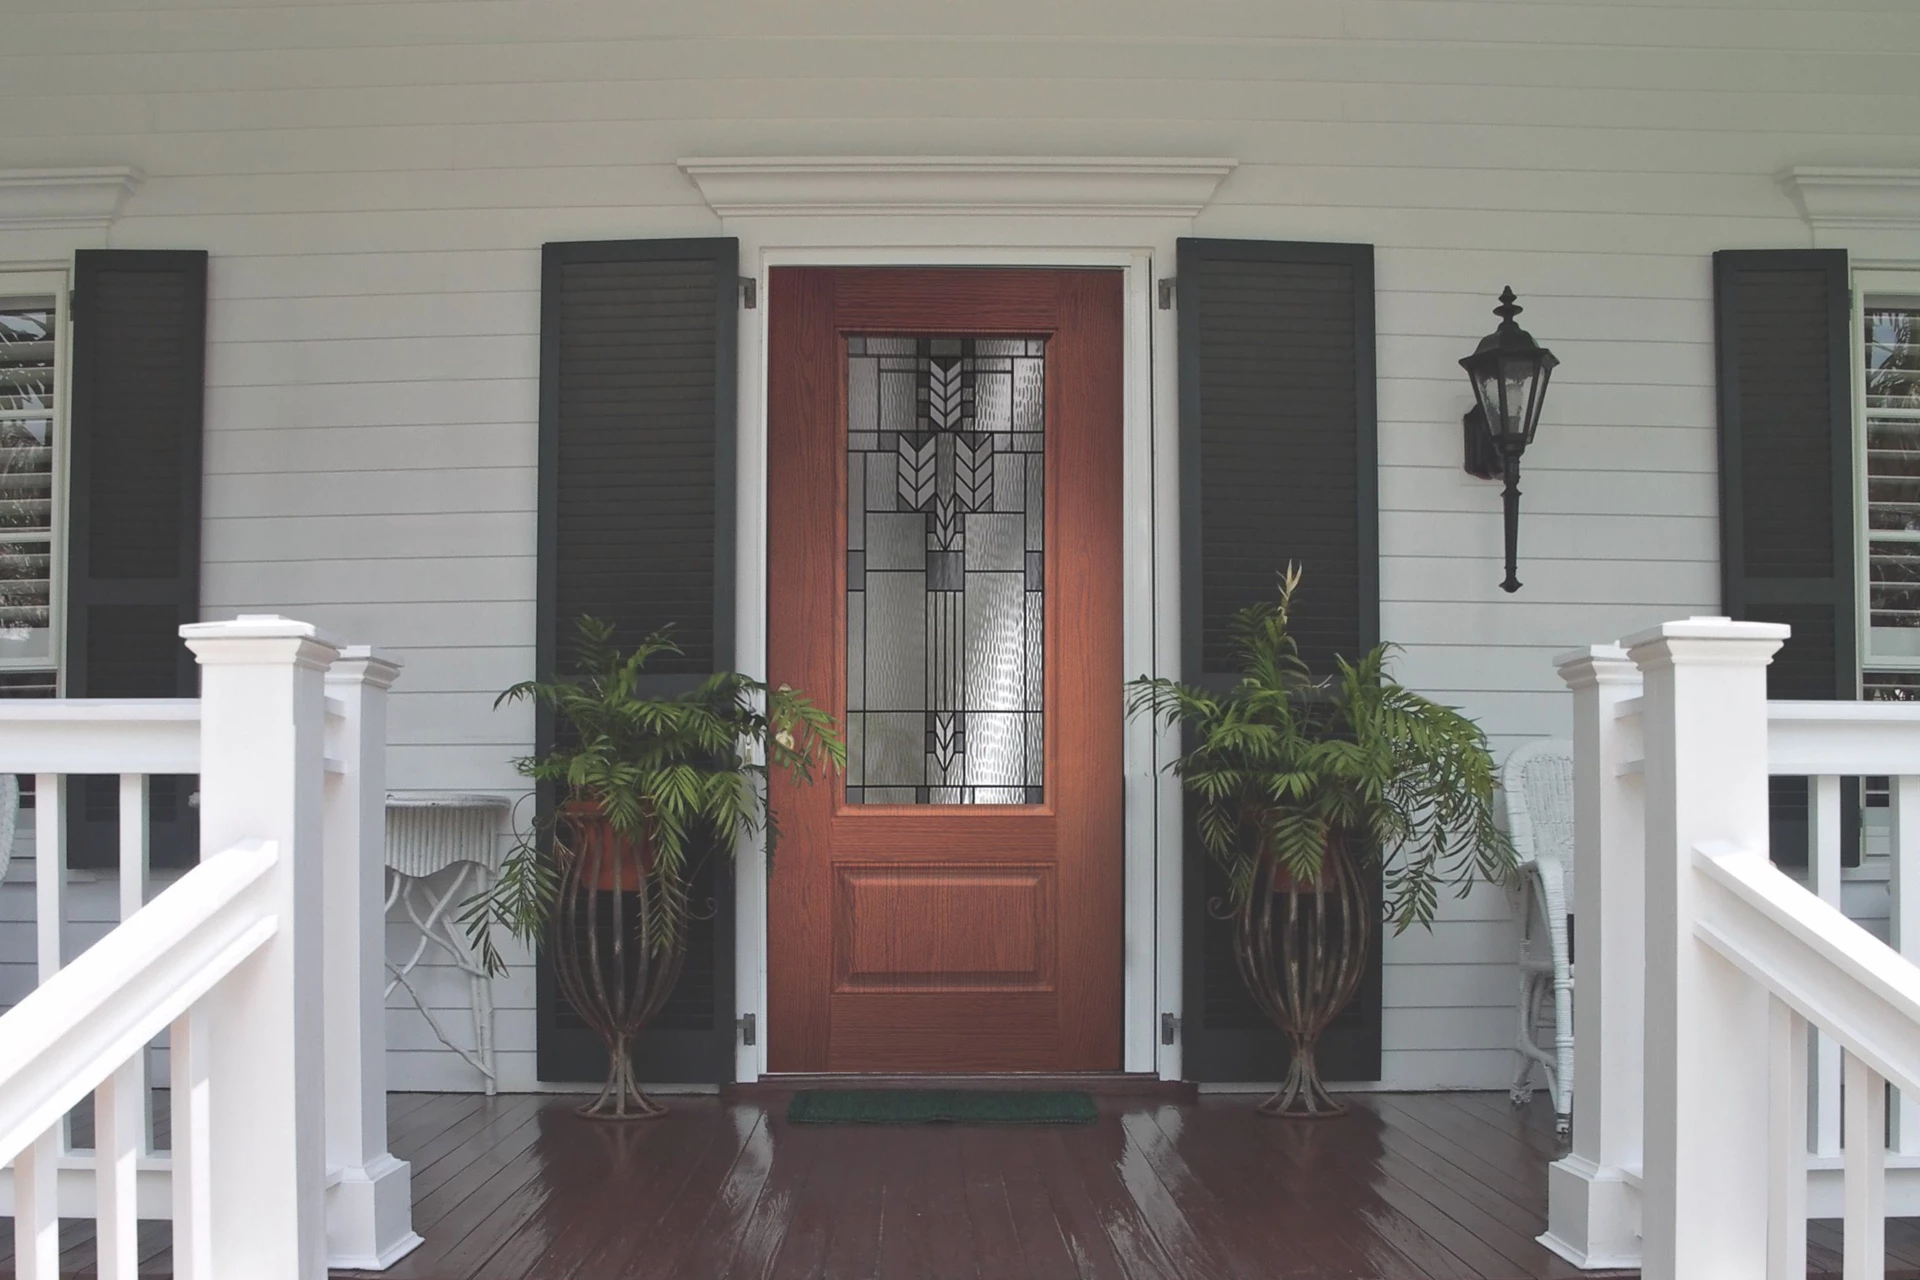
Well-chosen door casing types will often mirror the architectural style of a home, and there are quite a few widespread styles prevalent across the United States. As with most new elements you’d introduce to your home, it’s important to take note of your dwelling’s currently established style—you wouldn’t want to install door casing or door components that clash with other elements of your dwelling.
If your home is constructed in the craftsman style, it’s inspired by a movement that started in opposition to the British Industrial Revolution. The craftsman movement emphasized handmade goods. In the early 1900s, a population boom put demands on the home market, and the craftsman style was slowly folded into the style options available for new homebuyers to choose from.
This sort of aesthetic includes doors that are constructed with natural materials and may contain glass inserts or other accessories that didn’t look mass market. Casing for this style of home would take on a similarly made-by-hand look, with intricate details and malleable natural materials.
Rustic homes and craftsman homes share a similarly natural, lived-in look, but the rustic architectural discipline differs with its focus on locally-sourced materials and revived or repurposed décor. This style provides a lot of creative freedom—surround a big, impressive rustic door with a casing that contributes to the door’s impressive stature, or install subdued casing on a door with glass inserts that are meant to minimize the divide between your indoors and the outdoors.
Modern homes are defined as such with every angular line and flat wall that makes up their exteriors. They exude a contemporary approach to habitation that is mostly free of flourishes—or any other feature deemed generally unnecessary. Like other parts of the home, modern-style door casing should be free of designs and made to appear smooth. Traditional style homes focus on function but in a different way—roofs are angled to protect the home from the elements instead of creating a specific look of form and windows are placed symmetrically around the house to distribute light as evenly as possible. Choose a casing that’s symmetrical while remaining practical.
If you’re looking for door casing or other exterior door components, Plastpro has great options that match any architectural style.
Materials for Door Casings
Just like any other aspect of your home, the casing around your door can be made from a variety of materials that each have its upsides.
Hardwood casing can be made from a variety of different wood options and is great to use in areas that are exposed to moisture. Choose this kind of casing if you want to stain the wood, as it won’t streak. If you plan to paint the wood, you can go with paint-grade wood casing, which may be the most popular option for homeowners thanks to its low cost and its versatility. However, paint-grade wood casing shouldn’t be used in areas prone to moisture.
Casing made with multi-density fiberboard, usually abbreviated to MDF, will look a lot like paint-grade wood casing even though it’s made from sawdust and resin. Due to its composition, it can swell up when it gets wet, so don’t use it in places like the bathroom or kitchen. It does usually come ready to either paint or stain, though, making it a versatile option for locations it can be used.
Styles and Profiles
Door casings usually come in two different styles that have as much to do with looks as they do with door casing installation.
Butted casing sees the two vertical pieces run along the door and stop at the top of the doorway. The third horizontal piece is sat atop the pieces of trim and is usually an ornate piece that matches the other two aspects of the frame but expands on them with protruding features that draw the eye upward.
Mitered casings have interlocking sections cut into the end of them—this is also known as a mitered cut. Each of the three pieces will lock together, which usually creates a uniform look surrounding the door.
The casing profile is the shape created at the edge of the casing, and profiles range from the rounded and simple ranch profile to the stately and popular colonial profile. When you’re choosing your casing profile, make sure you follow the guidelines for matching your home’s architectural style.
Measuring and Installing Door Casings
To complete an installation, you’ll need a carpenter’s wood glue, finishing nails that measure 1 inch and 2 inches, an 18-gauge finish nailer, and a power miter saw. If you’re only applying casing to a couple of doorways, consider renting the latter two items, as they’re significantly more expensive than the nails and the glue.
Before framing the door, first, you need to determine placement. Measure about .25-inches from the inside of the door frame and mark that spot. Each mark should line up around the doorframe’s perimeter. This space is necessary for the door to continue operating properly.
If you’re using butted casing, put the top casing in line with the mark you made above the door and affix it with nails. Cut the tops of each side board so they sit snugly with the top casing piece and use nails to put them into place. This changes if you’re using rosettes, or decorative blocks that sit at the corner of each of the door’s angles and act as a sort of joining piece. Attach these rosettes first, then cut the top horizontal casing to fit against the rosettes. Lastly, do the same with the sides.
For mitered casing, hold the top horizontal piece up and put a mark on it where the .25-inch lines cross. There should be two marks on either side of the casing. Next, use the saw to cut a 45-degree angle at each marking. Now install this piece using 1-inch finish nails on the inside and 2-inch finish nails on the thicker outside.
After this piece is in place, hold each side piece up and mark it at the point where the inside corner on the top casing and the inside of the vertical side casing meet. Now, cut another 45-degree angle so it’ll fit snugly with the top casing. Use the carpenter’s wood glue to attach the wooden pieces at the cut angles, then use nails to attach the side pieces to the wall.
Maintaining and Repairing Door Casings
So you’ve just installed your new casing—you may have even taken time to paint or stain it. Now, how can you make sure it stays looking new?
One of the most common protections is clear plastic guards installed along the outside edge of the casing. This protects one of the most vulnerable parts of the piece from chipping. You can also mitigate disaster by keeping furniture, shelving, and other potential hazards away from doorways with casing installed. To repair the casing, you could repaint or stain the casing again, sand it, or use body filler to try and fill in the gaps.
Plastpro’s Door Casing Options
There are a lot of different situations you can find yourself in when it comes to exterior door casing, but Plastpro’s door components have you covered. Whether you’d like to install a rounded header as part of your casing, accommodate a sidelite with a sidelite stopper, or grab some casing pieces for your next project and redo your door’s casing!
The Complete Fiberglass Door Solution from Plastpro
Door casings are essential parts of interior and exterior doors. They help with privacy, energy efficiency, and curb appeal, and Plastpro’s large range of options can assist with any door casing or frame issue. It’s a great resource for the DIY enthusiast homeowner completing their door project or the construction professional looking for a reliable option. Find a dealer today and begin a new redefining door project!
You May Also Like
 Door Installation Support
Start the Year With a Stronger Entryway
 Door Installation Support
Why Fiberglass Doors are the Eco-Friendly Choice
 Door Installation Support
Keeping Your Home Sparkling: Tips for Cleaning and Maintaining a Fresh Space
Ready for More Inspiration?
Your next big idea starts here. Subscribe to Inspiration & Insights
Note: We're always on the lookout for beautiful, innovative, and standout Plastpro projects. If you have one in mind, please email [email protected]