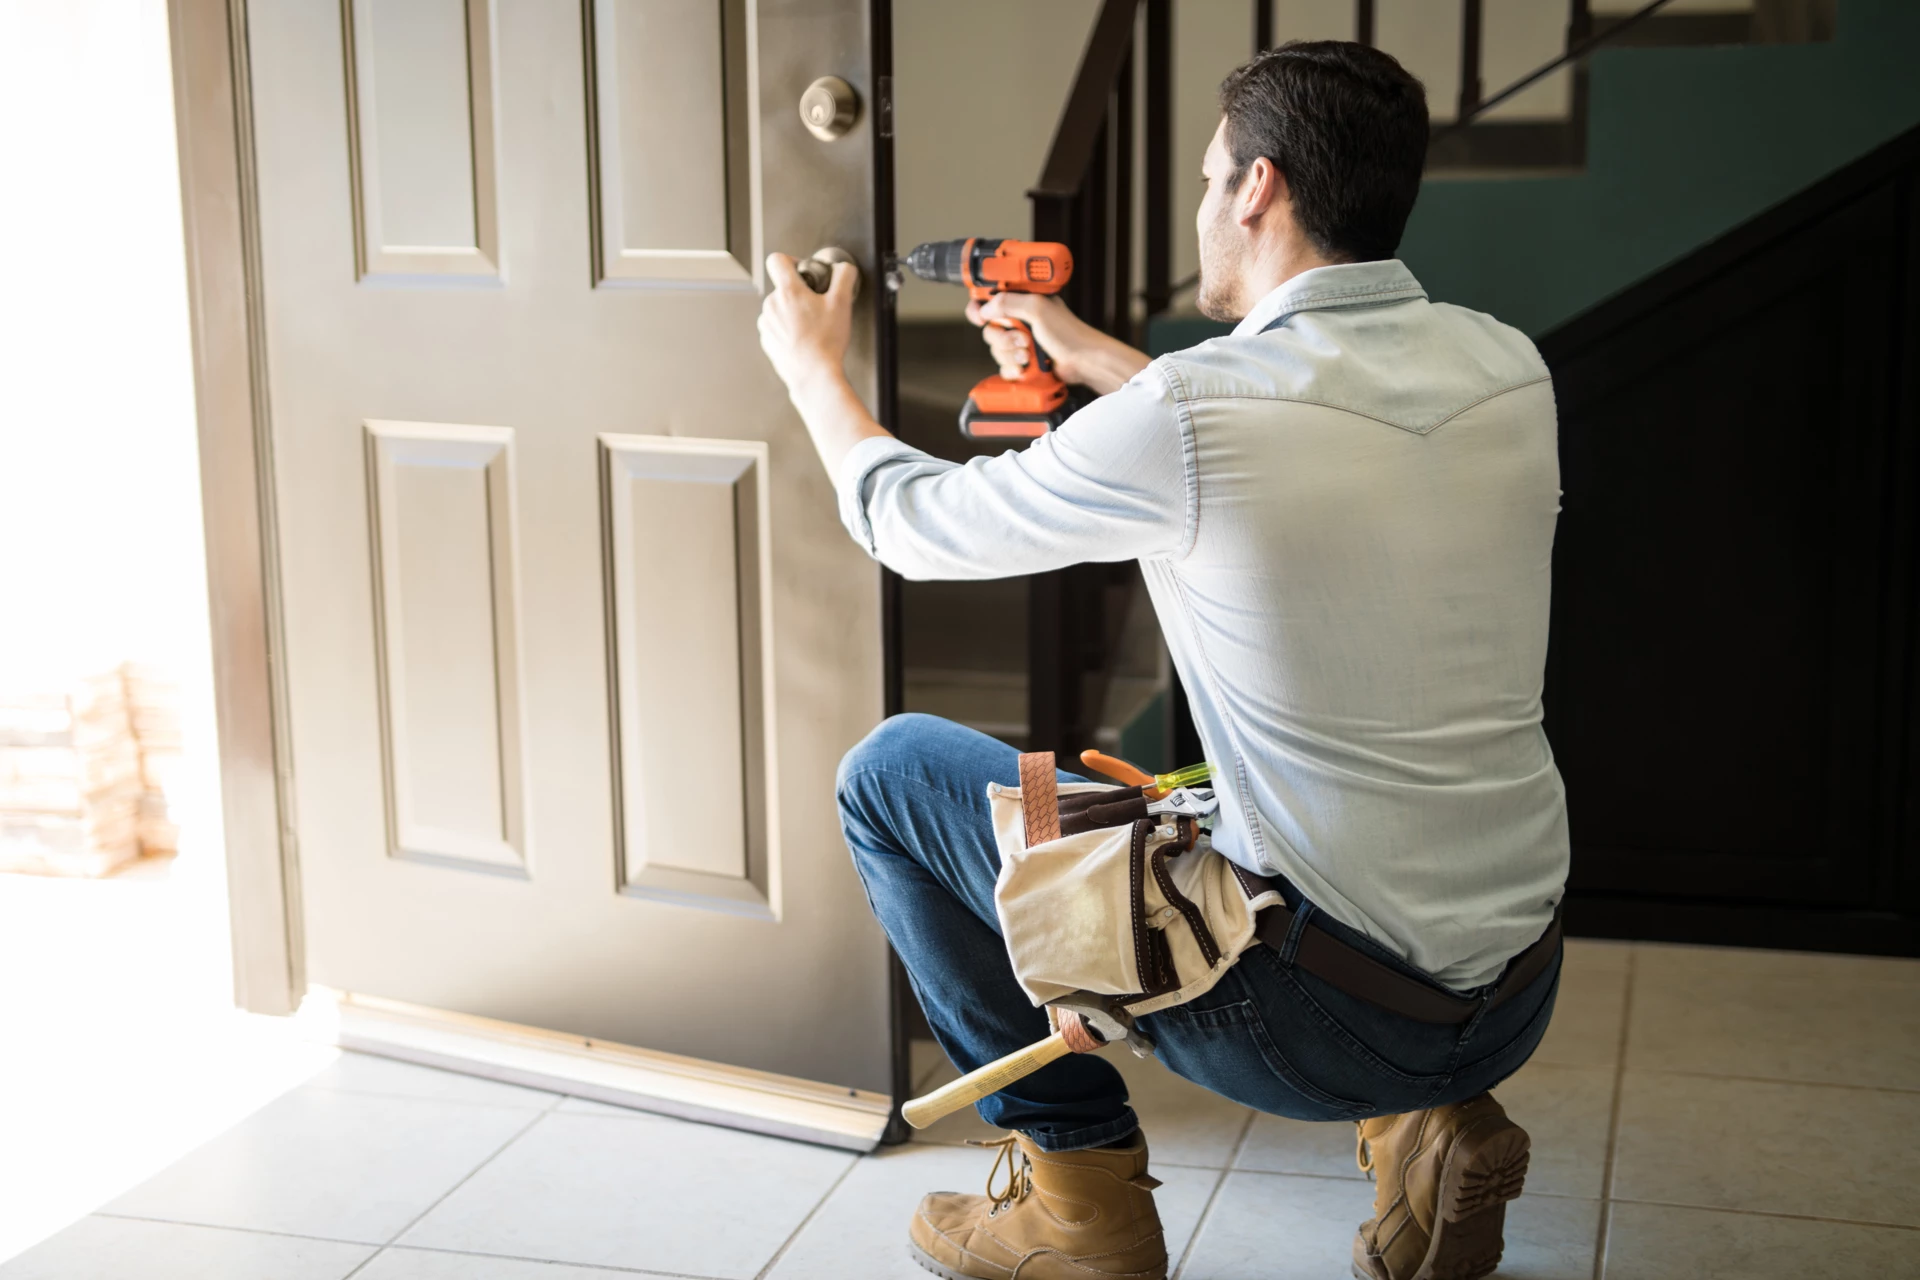
Is there a project you’d like to complete but, for some reason, you just haven’t got around to it? Maybe it seems too complicated and you aren’t sure where to begin, or you’re worried how the finished product may look if something goes wrong. Thanks to its usual role as the main entryway into and out of the home, replacing a front door may initially feel like one of those intimidating, high-pressure situations, but it doesn’t have to be. With the right tools and proper preparation, you can install a front door yourself.
This article will help provide tips and tricks to homeowners who want to install their own front doors. Read on for useful information meant to assist you with DIY door installation!
Benefits of DIY Door Installation
Committing to a DIY front door project may not be everyone’s first choice when it comes time for a new exterior door, but it may be easier than you think to replace a door yourself—and the benefits can reach farther than just your doorstep.
First and foremost, the monetary benefits of a DIY door installation can have a huge impact on the budget of your front door replacement project. It isn’t uncommon for the enlistment of a door installation professional to increase the cost of a project to double the price of a door itself—if not more.
Installing a door yourself can cut costs considerably, especially since most of the materials and tools needed for the job will either come with the door or are items you probably have at your home already. However, you may want to budget in dinner for your project buddy—while it’s possible to install an entry door by yourself, they’re often large and unwieldy. You’ll be steadying and aligning the door quite a bit as you fit the door into place and secure it, so it’ll help immensely to have a second set of hands on the job.
While completing a job like this one with your project partner can be a great bonding exercise, it can do even more for your own sense of self. Every day when you come home and see your front door, you’ll be proud to know it’s your handiwork that added this brand-new entryway to your home.
Finishing a project that’s so visible to family members, visitors and passersby can instill a sense of confidence that you’ll carry into other jobs around the house. Don’t underestimate the importance of trusting that you’ll make the right decisions for your home. It’s an important part of being a homeowner, along with trusting your hands and your tools to make those decisions happen in reality.
Lastly, while it may not seem like it, doing the job yourself will save you time because it can be done at your own convenience. Be sure to schedule a day with adequate weather and limited foot traffic in your front door area. Also, be sure you have a place for pets to stay while the DIY door installation is completed.
Choosing the Right Door
Before you install your home’s new front door, you’ll need to match the needs you’re looking to address with the right exterior door for you. To start, you shouldn’t have reached this point in the door replacement process without first deciding that you do indeed want to replace the door in lieu of repairing it. You’ll want to heavily consider a replacement if your door is warping, cracked, chipped or has other visible signs of wear or integrity issues. You may also consider a replacement if you want to switch to a different front door material, like fiberglass, in order to improve your home’s energy efficiency or overall safety.
After you’ve decided to replace instead of repair, your next step should be choosing a door that perfectly matches your needs and your home. If you don’t have the usual door opening size of 36 in. by 80 in., you may need to special order a door that’ll fit your opening—if it’s smaller, you’ll be able to widen your exterior door frame with another DIY project.
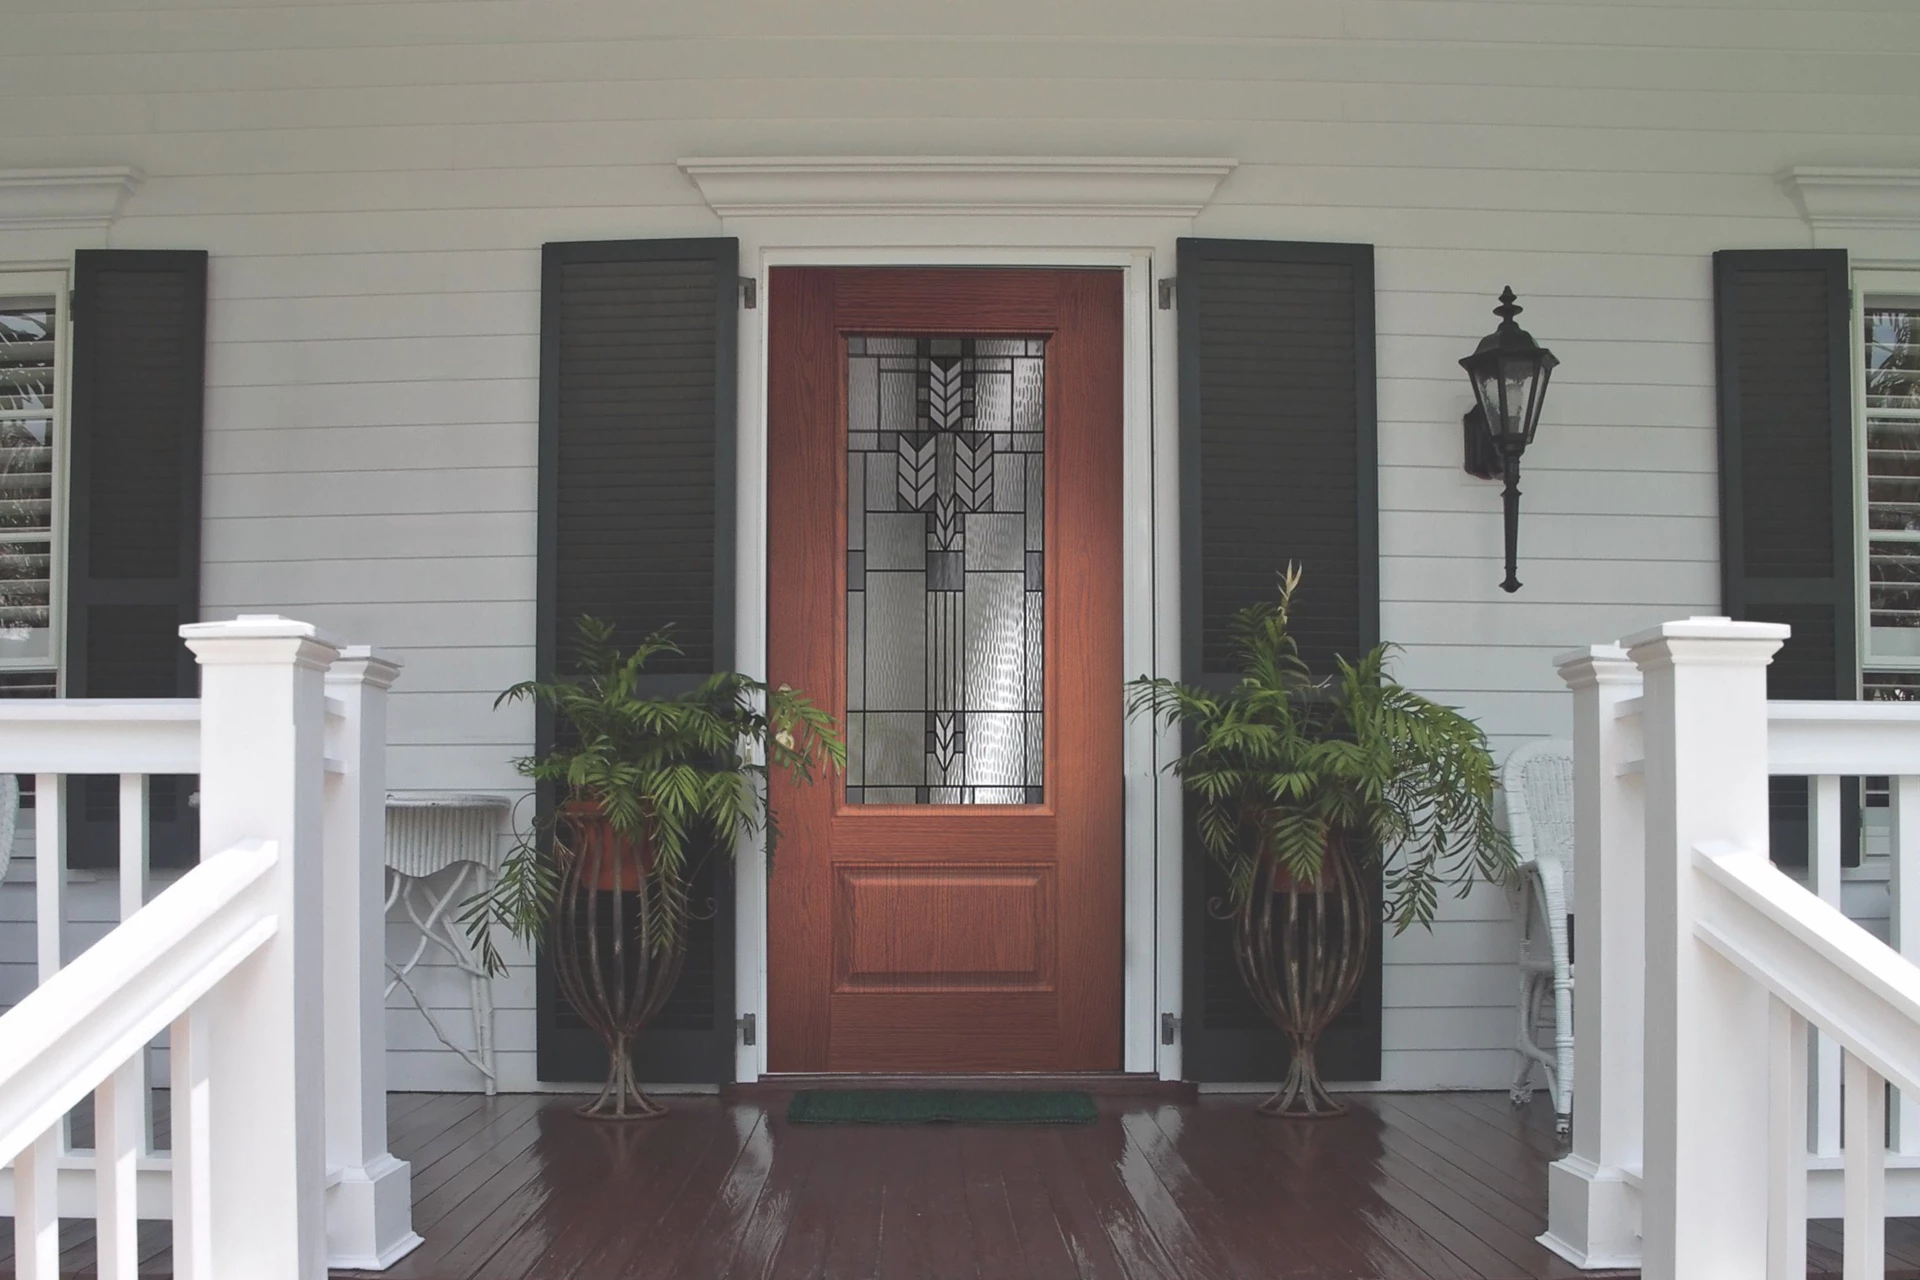
After you’re sure on size, address your other wants and needs. Will you go with a different material? Will you play it safe and stick to your entryway’s current aesthetic, or will you take on a front porch revival inspired by the opportunity presented by a new exterior door? Beyond the appearance of your front entryway is the overall architectural style of your home.
Will you stick to a choice informed by your ranch style, craftsman style, modern, or other type of home, or will you buck trends and go with whatever makes you happy?
After you’ve made your choices, consider other features of the door and entryway. Doorlites are portions of glass inserted into the door that allow natural light into a home and provide those inside with larger sightlines of the outside world. Doorlites work well with almost any style of door, as each doorlite features embellishes that match it to a certain architectural style. Accessories like hinge straps, clavos and speakeasies usually only work on traditional or rustic doors, but if that’s the style you’ve decided on, you may want to consider what they’ll add to your presentation and curb appeal.
Pre-hung vs. Slab Doors
When you’re shopping for your new exterior door, there’s one decision that’ll greatly impact the ease of your DIY front door installation project: will you use a pre-hung door or opt for a slab door?
As the name implies, a pre-hung door is already affixed to its frame, making it easy to slot the door into your home’s raw door opening. A slab door arrives separate from a frame, meaning there will be extra steps, measurements, and room for error during the slab door installation process. While we spoke of the pride that comes with installing your own front door, that doesn’t mean you can’t make every effort to make sure the job is done right the first time.
Plastpro’s fiberglass doors come pre-hung, making them a great ready-to-use option for your DIY prehung exterior door installation.
Preparing for Installation
If you’ve made it this far, you’ve already done a good bit of prep work for this DIY door replacement, and that’ll ensure you’re ready to tackle this important home improvement project. Once you’re finally ready to begin work and prep the door opening for the new door, you’ll want to prepare the exterior door opening.
Measure the frame and make sure it’s approximately 2 in. to 2-and-a-half in. larger than the jamb that comes on the pre-hung door. You’ll also want to level off the opening to make sure your door is hung evenly. Finally, use a square to be sure each corner is angled correctly.
If a wall is more than one-eighth in. off, you’ll need to shim the door instead of the opening so it fits properly. If the inside itself is off, you may be able to pound it in a bit. If that doesn’t work, remove the trim, bring the drywall back with a reciprocating saw and reattach the inside. If this issue is present at the top of the opening, it may not be fixable and you may need to reframe the entire opening or order another door.
Installation Techniques for Pre-hung Doors
Pre-hung doors are easier to install than a slab door, but they still take some knowledge of the process to be successfully put into place.
Once you’ve made sure your opening is even, find the measurements for the door’s hinges and mark each hinge on the hinge-side trim. Use a plumb bob to run a string parallel with the hinge-side wall and put shims where the gap between the wall and the string is smallest. Do this at each hinge location. Make sure each is 1/8 in. thick and nail them to the wall. Cut them off so they’re flush with the opening and don’t protrude past it.
Line the door up and fit it into the opening. Push it tight against the shim and adjust it until it’s straight. Put nails at each hinge location. Use 8d finish nails. If the door isn’t resting evenly, shim at the hinge locations until it is. Adjust the space between the top of the door and the top so it’s around 1/8 in. wide. Use 8d finish nails every 16 inches on the latch side to keep the door in this location.
Now, slip two shims near the top of the door opening on the latch side and nail them in. Then, add shims above the base, above the strike plate and below the strike plate. This will keep the jamb straight. Replace the center screw on each hinge with one that can go into the inside wall.
For more tips, check out Plastpro’s how-to guide for installing a pre-hung door.
Finishing Touches and Maintenance
After the door is mounted, add the split jamb by inserting it into the groove on the main jamb. You can tap them together with your hands. Finally, go around and nail the frame to the wall by inserting a nail about once every 18 inches and install the door latch.
You can then add trim if it’s a trimmable door and turn your attention towards extending the life of your new door with recommended maintenance.
DIY Front Door Installation with Support from Plastpro
Completing a DIY pre-hung exterior door installation isn’t the easiest home improvement project to undertake, but choosing to go pre-hung—and picking a company that provides easy how-to guides like Plastpro—can mean the difference between success and hiring an installation professional. Find a Plastpro dealer and start your door replacement project the right way!
You May Also Like
 Door Installation Support
Start the Year With a Stronger Entryway
 Door Installation Support
Why Fiberglass Doors are the Eco-Friendly Choice
 Door Installation Support
Keeping Your Home Sparkling: Tips for Cleaning and Maintaining a Fresh Space
Ready for More Inspiration?
Your next big idea starts here. Subscribe to Inspiration & Insights
Note: We're always on the lookout for beautiful, innovative, and standout Plastpro projects. If you have one in mind, please email [email protected]