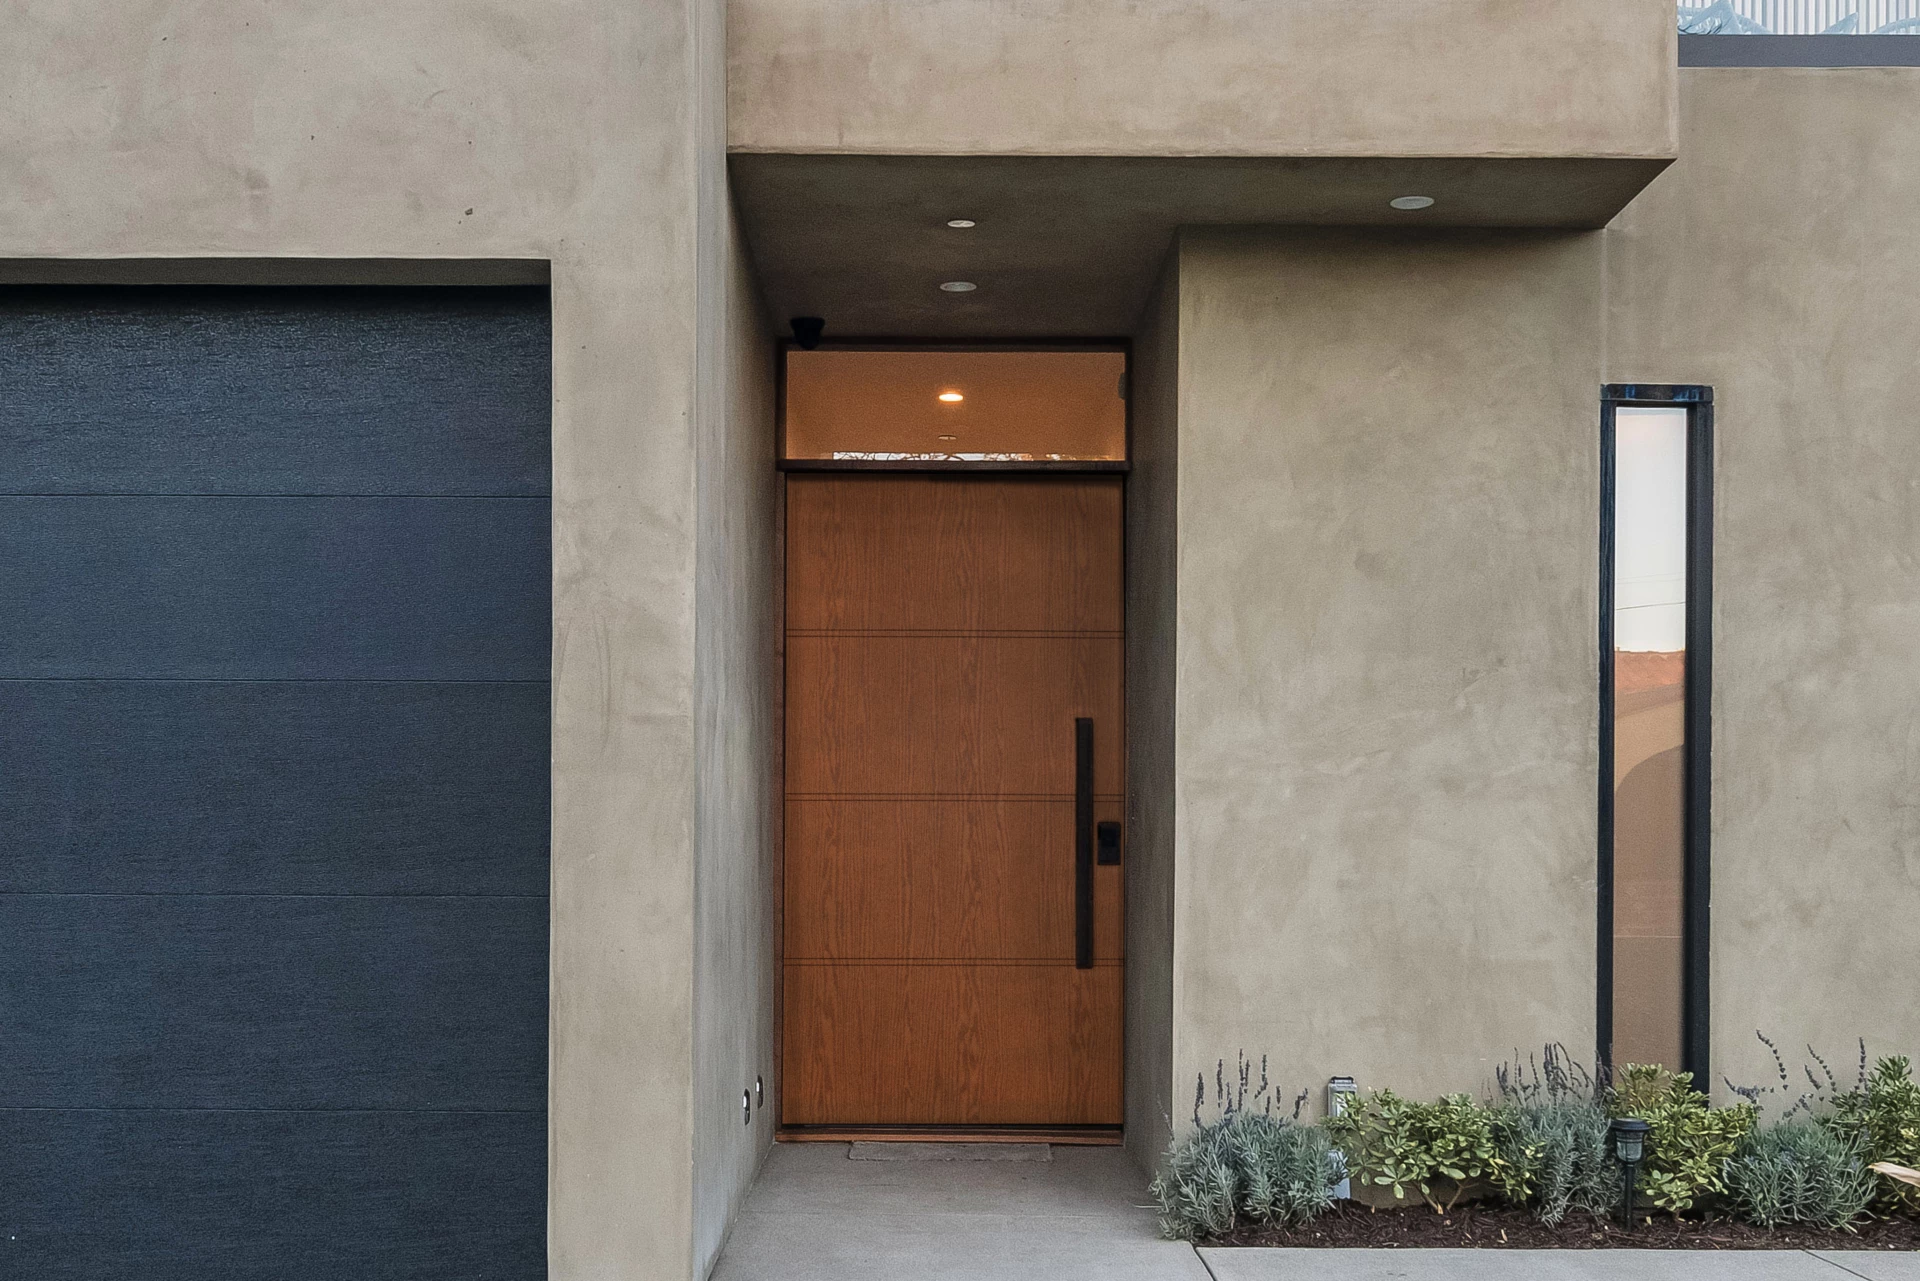
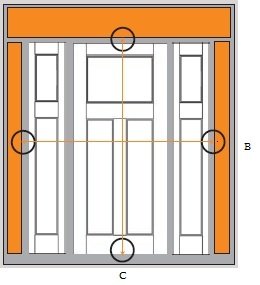
Measure Your Entryway – for Pre-hung Units Only
- To ensure accurate measurements, first remove the interior casing on the sides and top of your single or double door to reveal rough opening frame.
- Measure from inside the face of one stud to inside the face of the other stud and write down the measurement.
- Measure from the subfloor (plywood or concrete) to the bottom of the header above the door and write down the measurement.
Measurement B:_________ Measurement C:__________
| Configuration | Actual Size | Rough Opening | |
|---|---|---|---|
| 6/8 | Single 3/0 Door | Door: 3/0 x 6/8 =35-3/4” X 79-1/4” 3/6 x 6/8 =41-3/4” X 79-1/4” Sidelite: 1/0 x 6/8 = 11-7/8” x 79-1/4” 1/2 x 6/8 = 13-7/8” x 79-1/4” | 38-3/8” X 82-1/2” |
| Single 3/6 Door | 44-3/8” X 82-1/2” | ||
| Single 3/0 One 12” sidelite | 51-7/8” X 82-1/2” | ||
| Single 3/0 One 14” sidelite | 53-7/8” X 82-1/2” | ||
| Single 3/0 Two 12” sidelites | 65-3/8” X 82-1/2” | ||
| Single 3/0 Two 14” sidelites | 69-3/8” X 82-1/2” | ||
| Double 3/0 Door | 74- 7/8” X 82-1/2” | ||
| 7/0 | Single 3/0 Door | Door: 3/0 x 7/0 =35-3/4” X 83-1/4” 3/6 x 7/0 =41-3/4” X 83-1/4” Sidelite: 1/0 x 7/0 = 11-7/8” x 83-1/4” 1/2 x 7/0 = 13-7/8” x 83-1/4” | 38-3/8” X 86-1/2” |
| Single 3/6 Door | 44-3/8” X 86-1/2” | ||
| Single 3/0 One 12” sidelite | 51-7/8” X 86-1/2” | ||
| Single 3/0 One 14” sidelite | 53-7/8” X 86-1/2” | ||
| Single 3/0 Two 12” sidelites | 65-3/8” X 86-1/2” | ||
| Single 3/0 Two 14” sidelites | 69-3/8” X 86-1/2” | ||
| Double 3/0 Door | 74- 7/8” X 86-1/2” | ||
| 8/0 | Single 3/0 Door | Door: 3/0 x 8/0=35-3/4” X 95-1/4” 3/6 x 8/08 =41-3/4” X 95-1/4” Sidelite: 1/0 x 8/0 = 11-7/8” x 95-1/4” 1/2 x 8/0 = 13-7/8” x 95-1/4” | 38-3/8” X 98-1/2” |
| Single 3/6 Door | 44-3/8” X 98-1/2” | ||
| Single 3/0 One 12” sidelite | 51-7/8” X 98-1/2” | ||
| Single 3/0 One 14” sidelite | 53-7/8” X 98-1/2” | ||
| Single 3/0 Two 12” sidelites | 65-3/8” X 98-1/2” | ||
| Single 3/0 Two 14” sidelites | 69-3/8” X 98-1/2” | ||
| Double 3/0 Door | 74- 7/8” X 98-1/2” |
You May Also Like
 Installation
How to Replace a Door Slab
How to replace an exterior door slab Replacing a door is a project within the capabilities of most do-it-yourselfers. Throughout the installation, take care not to damage or disturb the door frame and trim. These instructions are general; always follow the manufacturer’s directions for the specific product you are using. Your retailer will help you plan the […]
 Installation
How-to: Install Clavos and Hinge Straps
Our decorative clavos and hinge straps are handcrafted from durable aluminum that resists rust and discoloration. Add a distinct and unique element to your Rustic door and create something that is truly your own. Step 1: Before you Begin Please note: The door must be pre-finished before applying clavos and hinge strap(s). If you have not […]
 Installation
How to Trim a Trimmable Door
General trimming information Trimming Door Top The top of the door has a maximum trim amount of 5/8”. Exceeding this limit is not recommended. Trimming the top of the door will cut off all information pertaining to the door. Record all data from top of door prior to cutting. Trimming Door Bottom Trimming Door Sides (stiles) Finishing Door […]
Ready for More Inspiration?
Your next big idea starts here. Subscribe to Inspiration & Insights
Note: We're always on the lookout for beautiful, innovative, and standout Plastpro projects. If you have one in mind, please email [email protected]